Portaband Table Installation Guide

Disclaimers: Do not use power tools for this installation. Always wear eye protection.
Tools required: 7/16” Wrench, 1/2“ Wrench, 5/32 Allen Wrench, 3/16” Allen Wrench.
Step 1
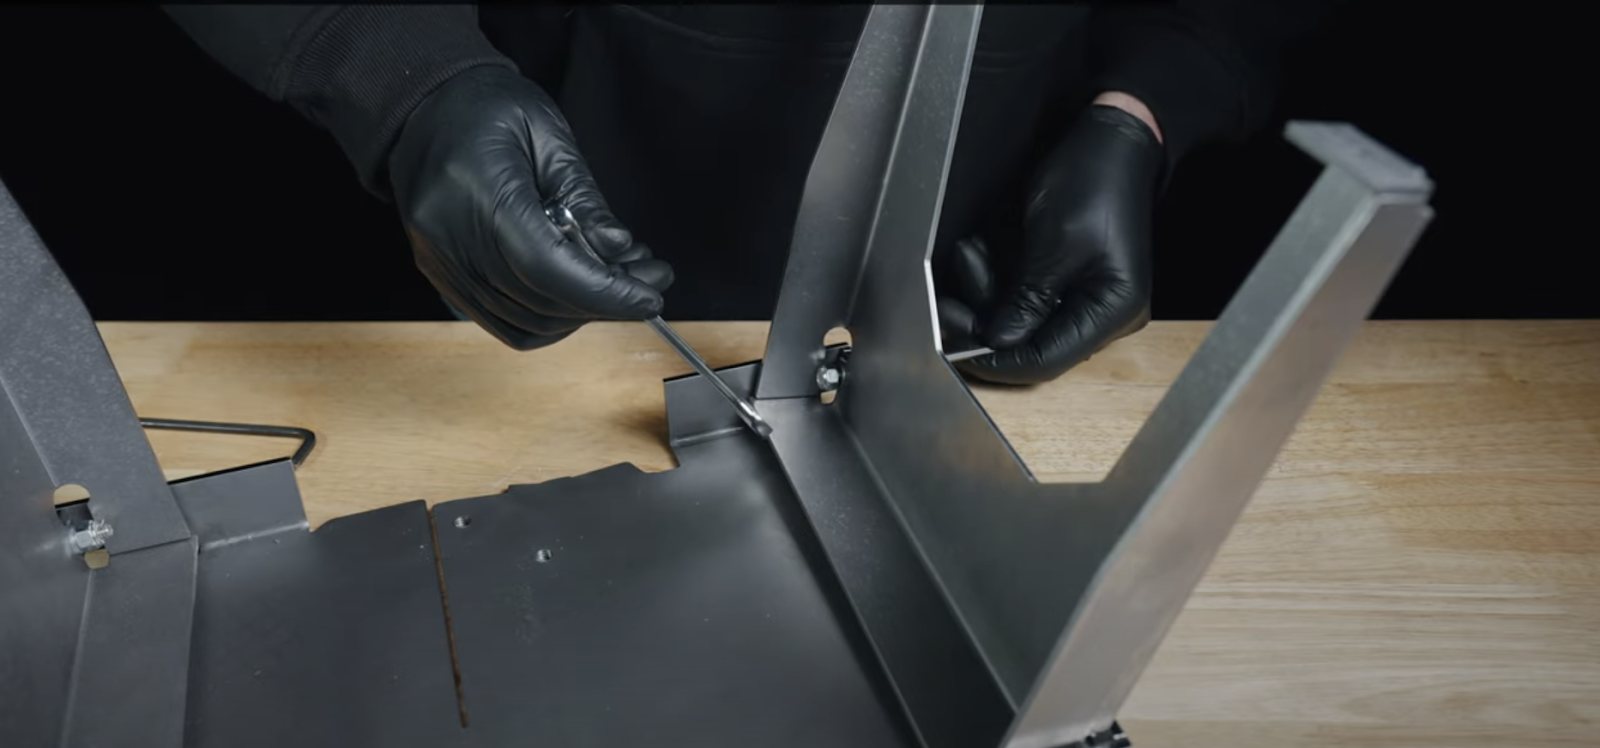
Lay the Portaband Table top upside down on your workbench to attach table legs (2).
Attach Portaband legs using supplied bolt and washer, threading them through the outside of the bench and connecting supplied nut and washer from the inside of the legs.
Tighten the nut to the bolt using a 7/16” wrench for the nut and 5/32” allen wrench for the bolt. Repeat for the remaining corners.
Step 2

On your Portaband Saw, extend the saw guide all of the way out.
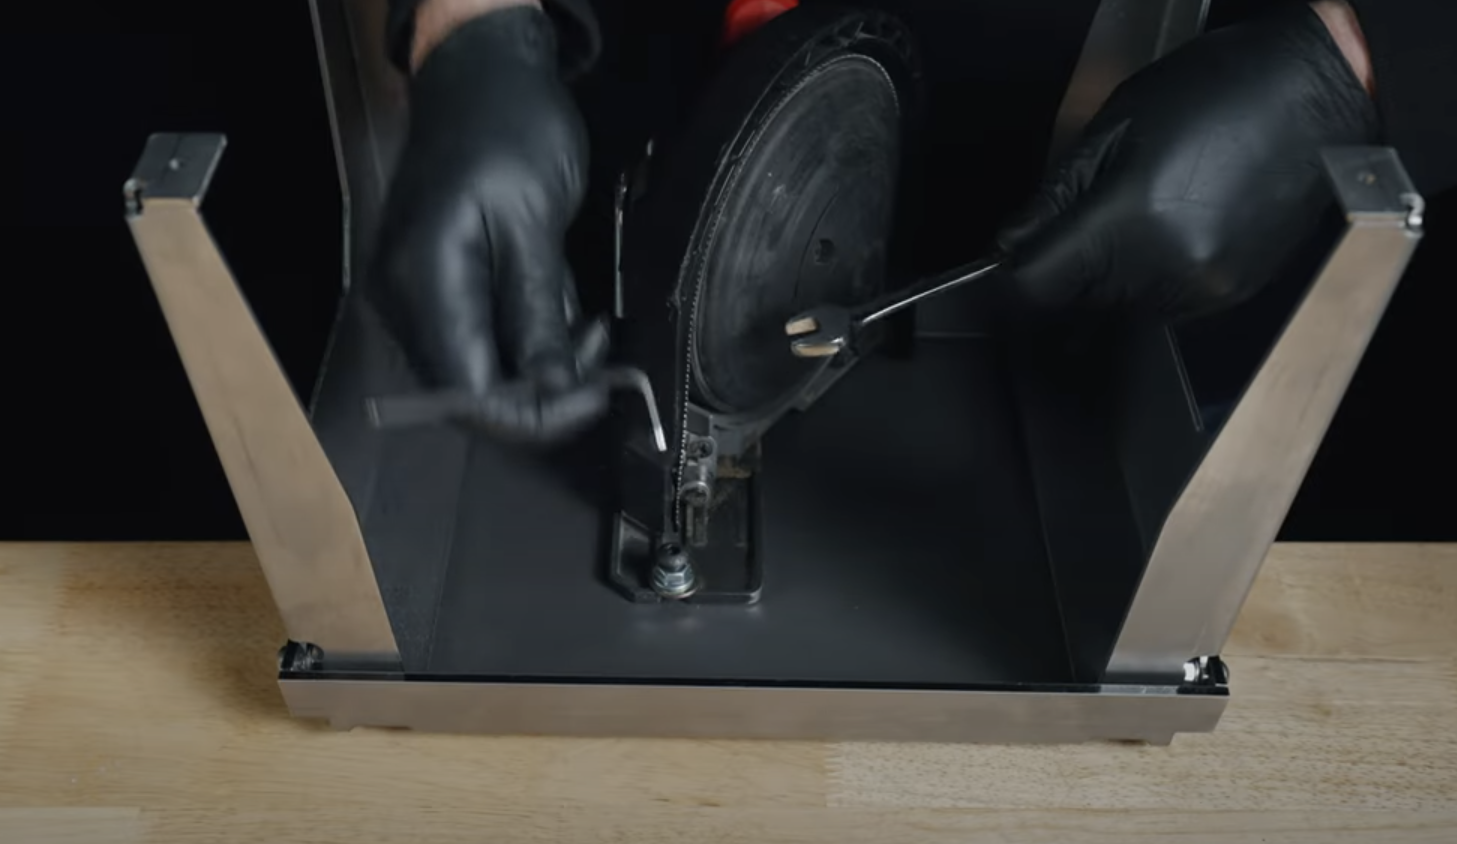
Step 3
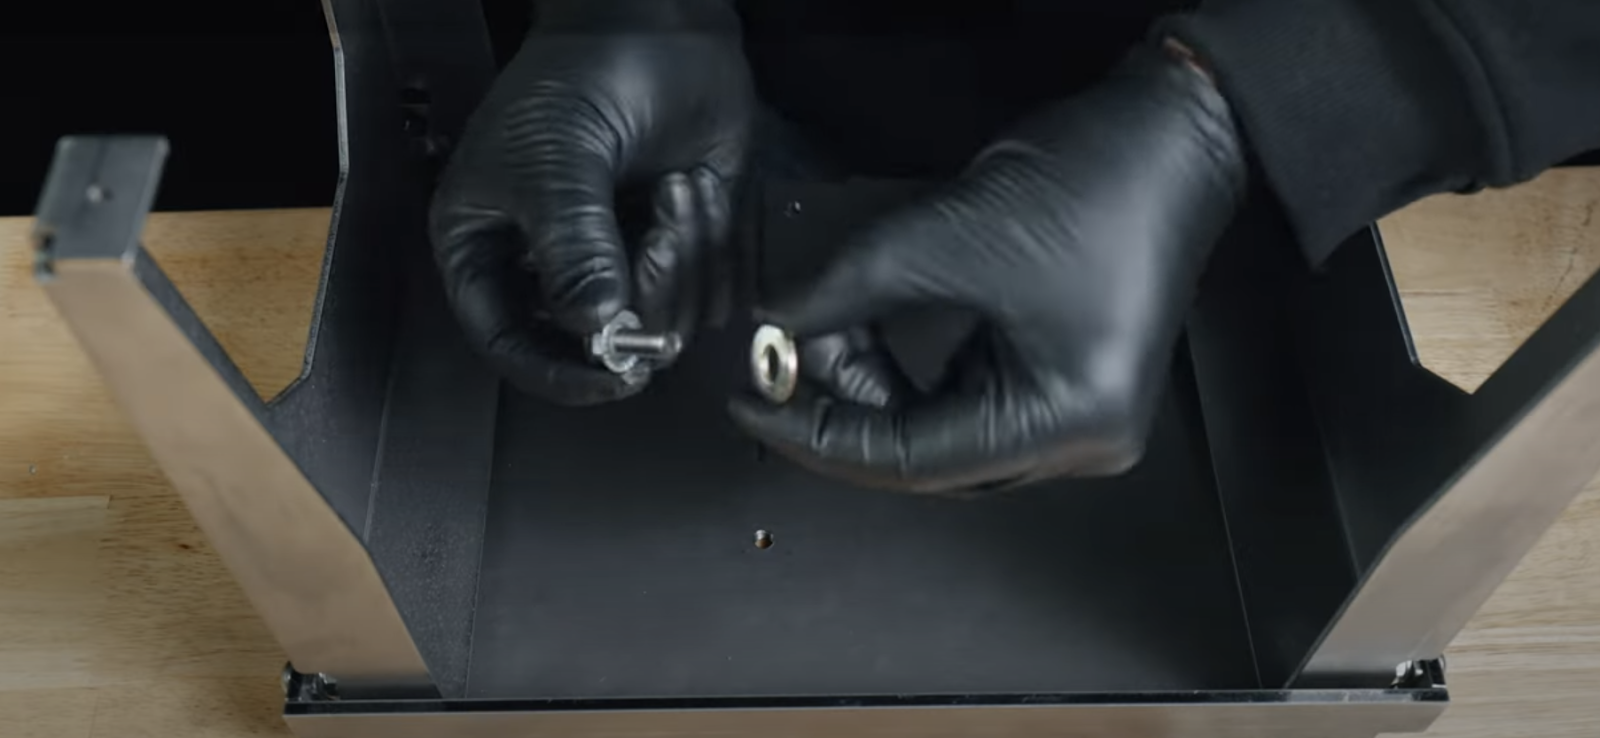
Assemble the flange nut and the hardened washer onto the 5/16” bolt as shown. Then install the 5/16” bolt in the threaded hole from the bottom side of the Portaband Table, just ahead of the blade slot.
See second image for correct depth before installing saw.
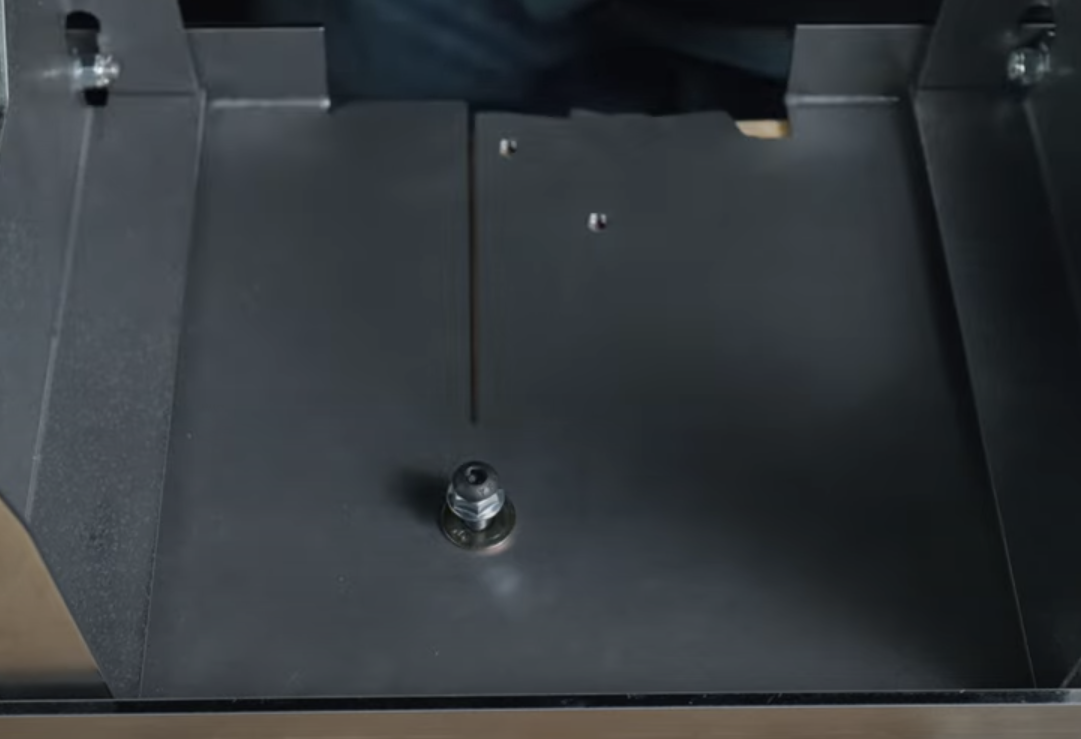
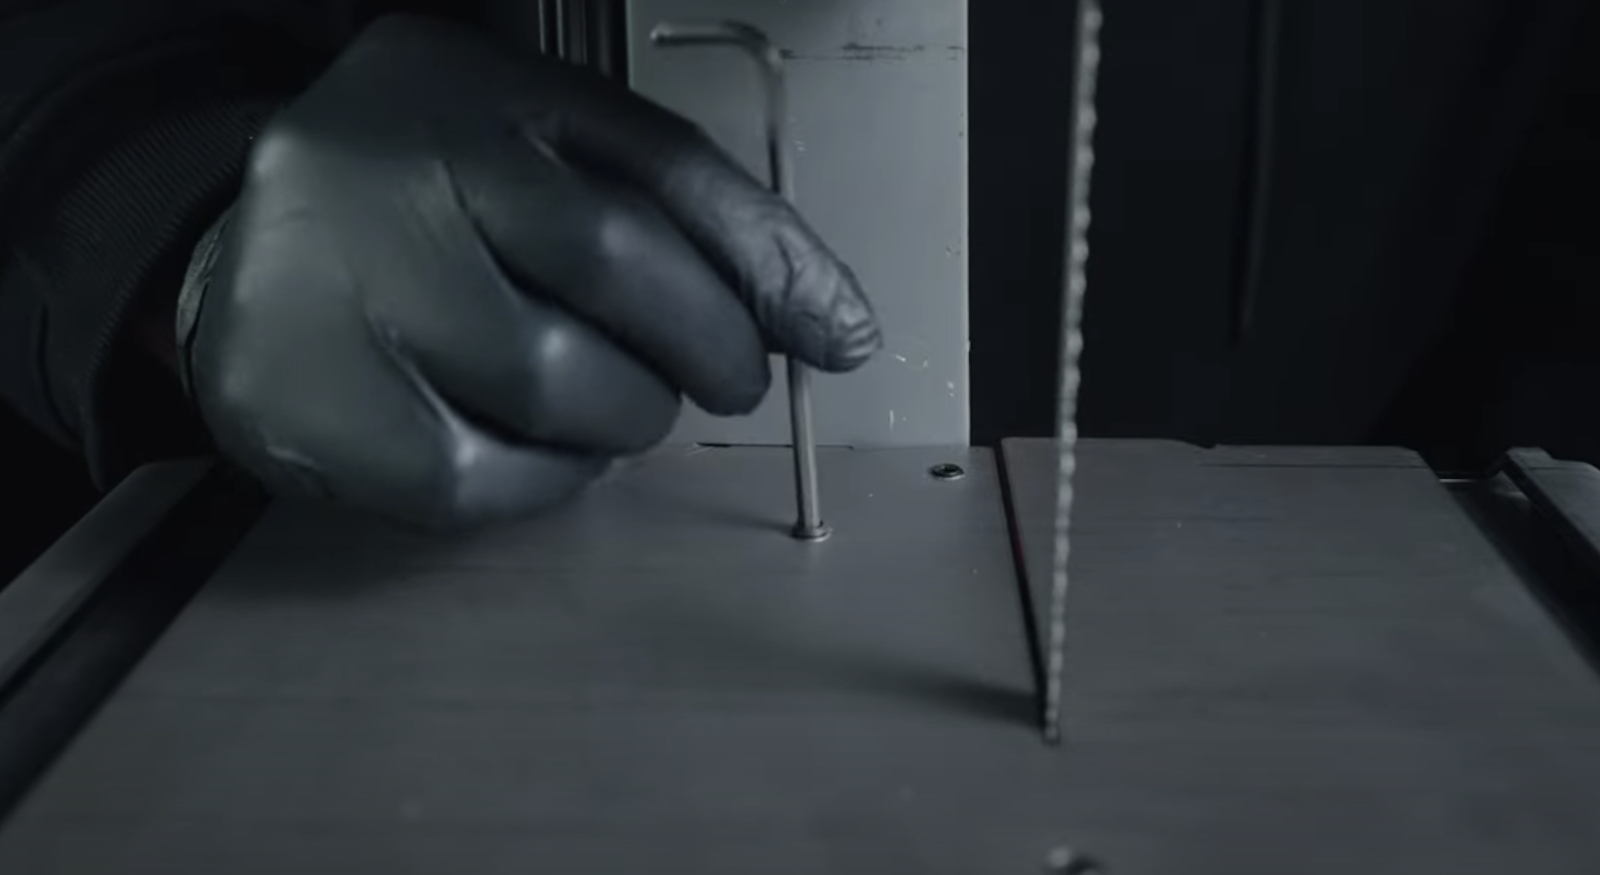
Step 4

Tighten the bolt only so it is flush with the table top surface or just slightly below.
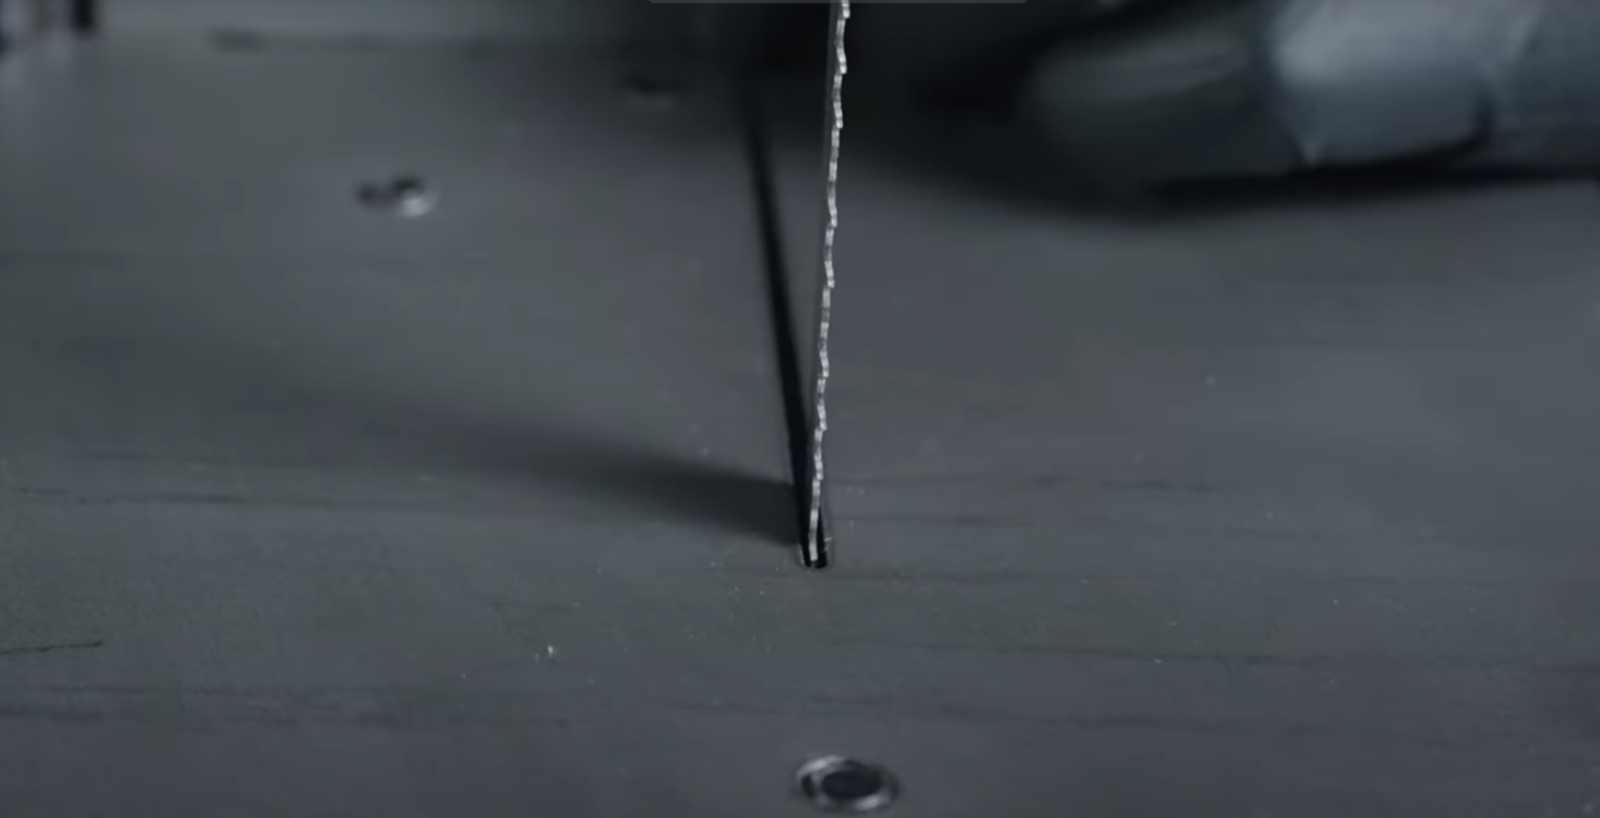
Step 5
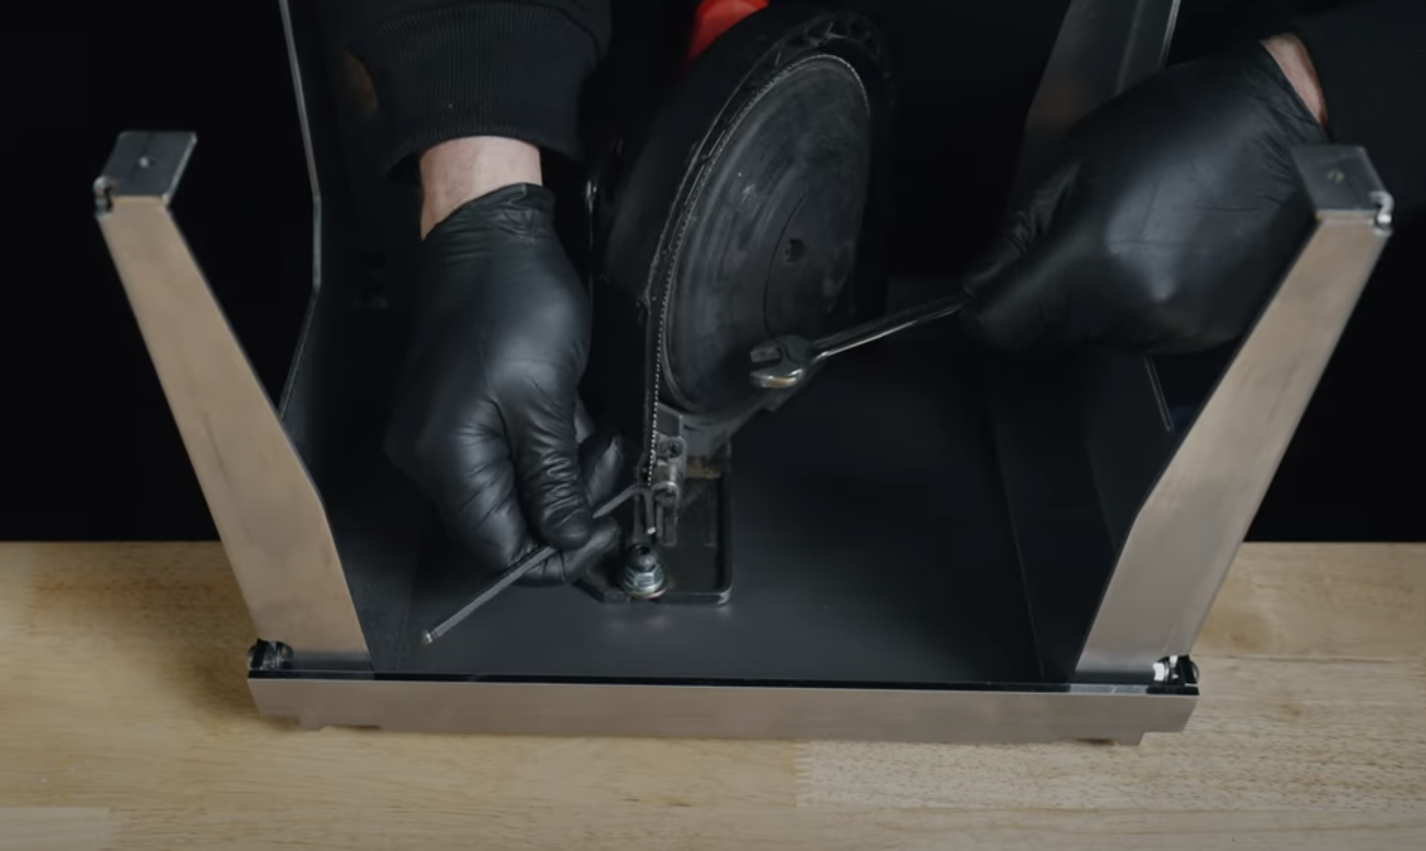
Slide the saw into the blade slot on the table, making sure there is no washer between the table and the saw guide.
Hold the 5/16” bolt in place with the 3/16” allen wrench so that the bolt doesn’t move in relation to the table top.
Tighten the nut with the ½” wrench.
Step 6
Install set screws into the table top by starting with the longest set screw into the front hole and the shortest set screw going in the hole closest to the back of the table.
Do not tighten the set screws until the following step.
Step 7
Adjust the blade position to be in the center of the blade slot in the middle of the table.
Tighten the set screws to hold the saw in place and so the set screws are flush or just below the table surface.
Step 8
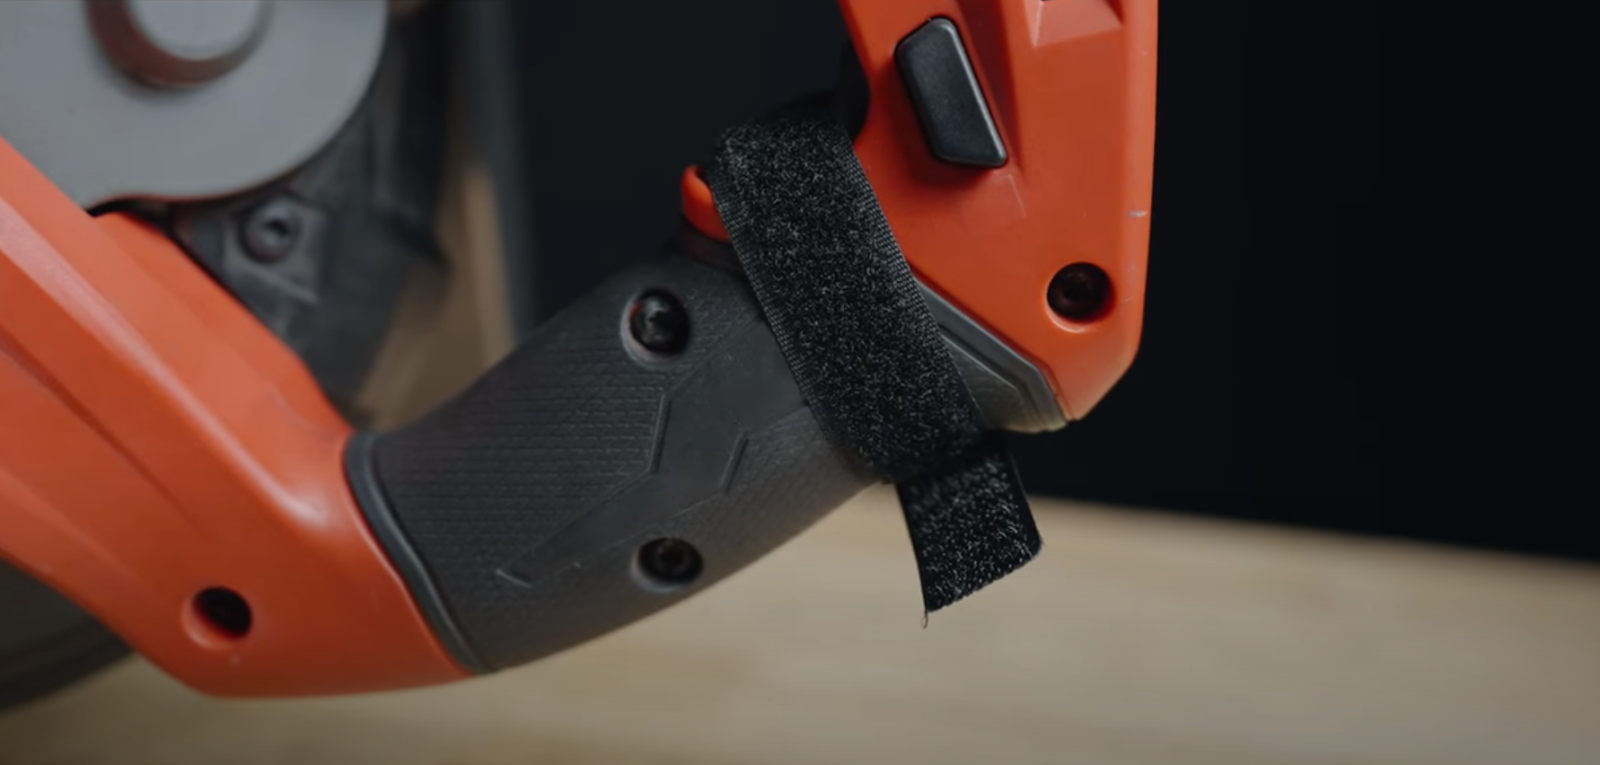
Attach trigger strap.
You’re now ready to use your Portaband Table!
