Diktator Grinder Installation Guides and FAQ
Find answers to your questions
- Calculating Belt Speed on Your 2x72 Grinder
- Understanding Surface Speed Per Minute (SFM) in Grinding and Machining
- Choosing the Right Drive Wheel Size for Your 2x72 Belt Grinder
- Finding the Ideal Belt Speed for Your 2x72 Belt Grinder
- Understanding Belt Speed: SFM vs MPH
- Three Bearing Style Wheels
- Side Play on Two Bearing Style Wheels
- I'm having belt tracking Issues due to belt tension
- I'm having belt tracking issues due to wheel alignment
- Why Some Low-Quality Grinders Still Get Great YouTube Reviews
- Toobinator Assembly & Shipping Information
- Why Diktator Grinders Deliver Premium Quality at Unbeatable Prices
- What to Look for in a 2x72 Belt Grinder
- How the Electric Motor Mounts to Your Grinder
- Small Wheel Speed Safety
- Diktator Electric Motors Drive Shaft Size
- Choosing Between 110V and 220V for your Motor
- Recommended Drive Wheel Size for Motors with VFD
- Power Requirements and Current Draw for Diktator Grinder Motors
- Adding a VFD to a non-VFD Motor
- Open vs Closed VFDs
- Choosing the Right Motor Size
- Storefront
- Paying Ahead for Will-Call Pickup
- Shipping on Your FedEx or UPS Account Number
- International Shipping
- Why Your Tracking Number May Not Work Right Away
- How We Combine Shipping
- Shipping Carriers We Use
- Will Call Pickup Orders
- Signature Requirement
- Order Confirmation & Tracking Your Order
- Shipping Turnaround Times
- Shipping Quotes
Portaband Table Installation Guide
Disclaimers: Do not use power tools for this installation. Always wear eye protection.
Tools required: 7/16” Wrench, 1/2“ Wrench, 5/32 Allen Wrench, 3/16” Allen Wrench.
Step 1
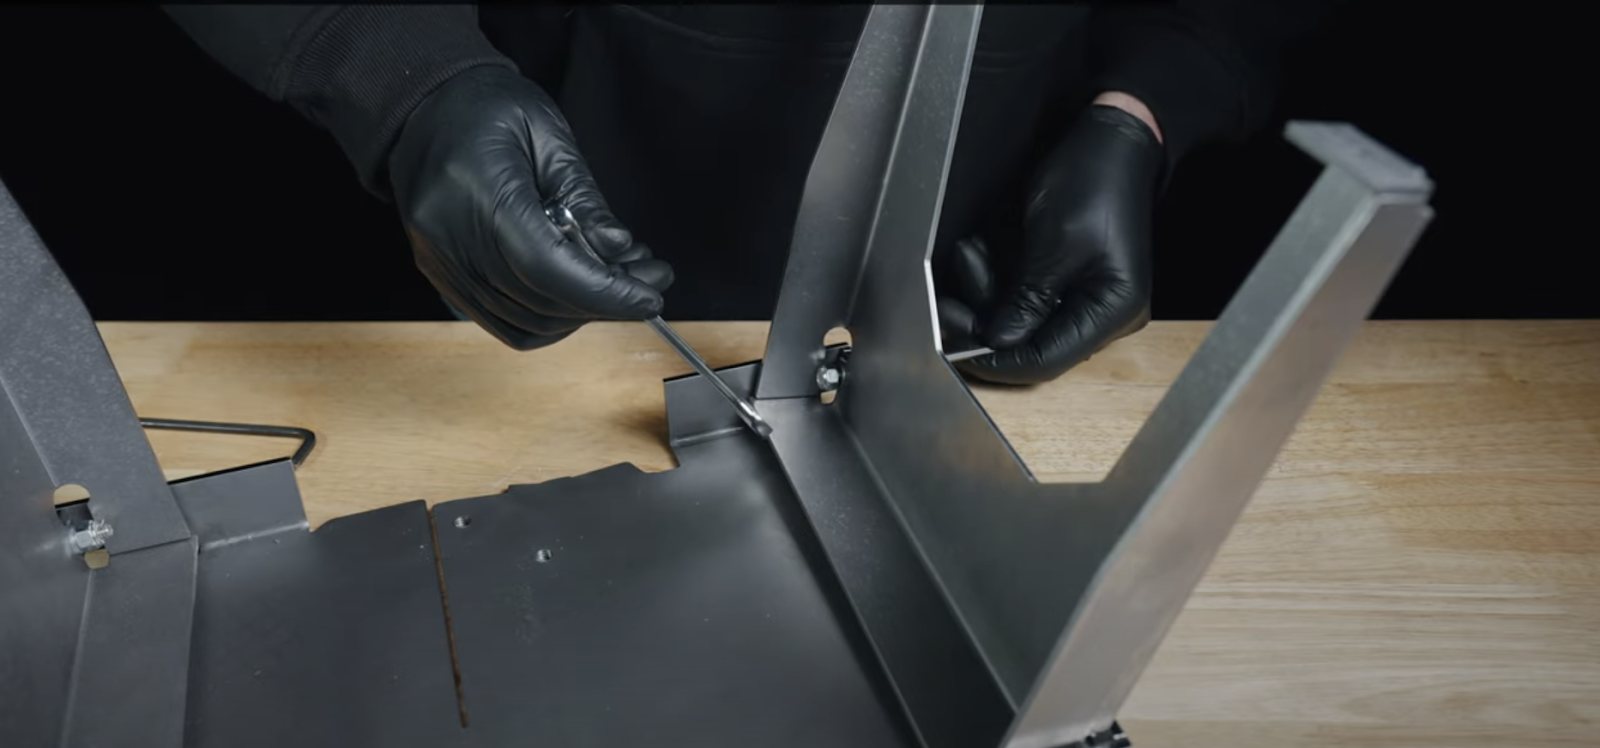
Lay the Portaband Table top upside down on your workbench to attach table legs (2).
Attach Portaband legs using supplied bolt and washer, threading them through the outside of the bench and connecting supplied nut and washer from the inside of the legs.
Tighten the nut to the bolt using a 7/16” wrench for the nut and 5/32” allen wrench for the bolt. Repeat for the remaining corners.
Step 2

On your Portaband Saw, extend the saw guide all of the way out.
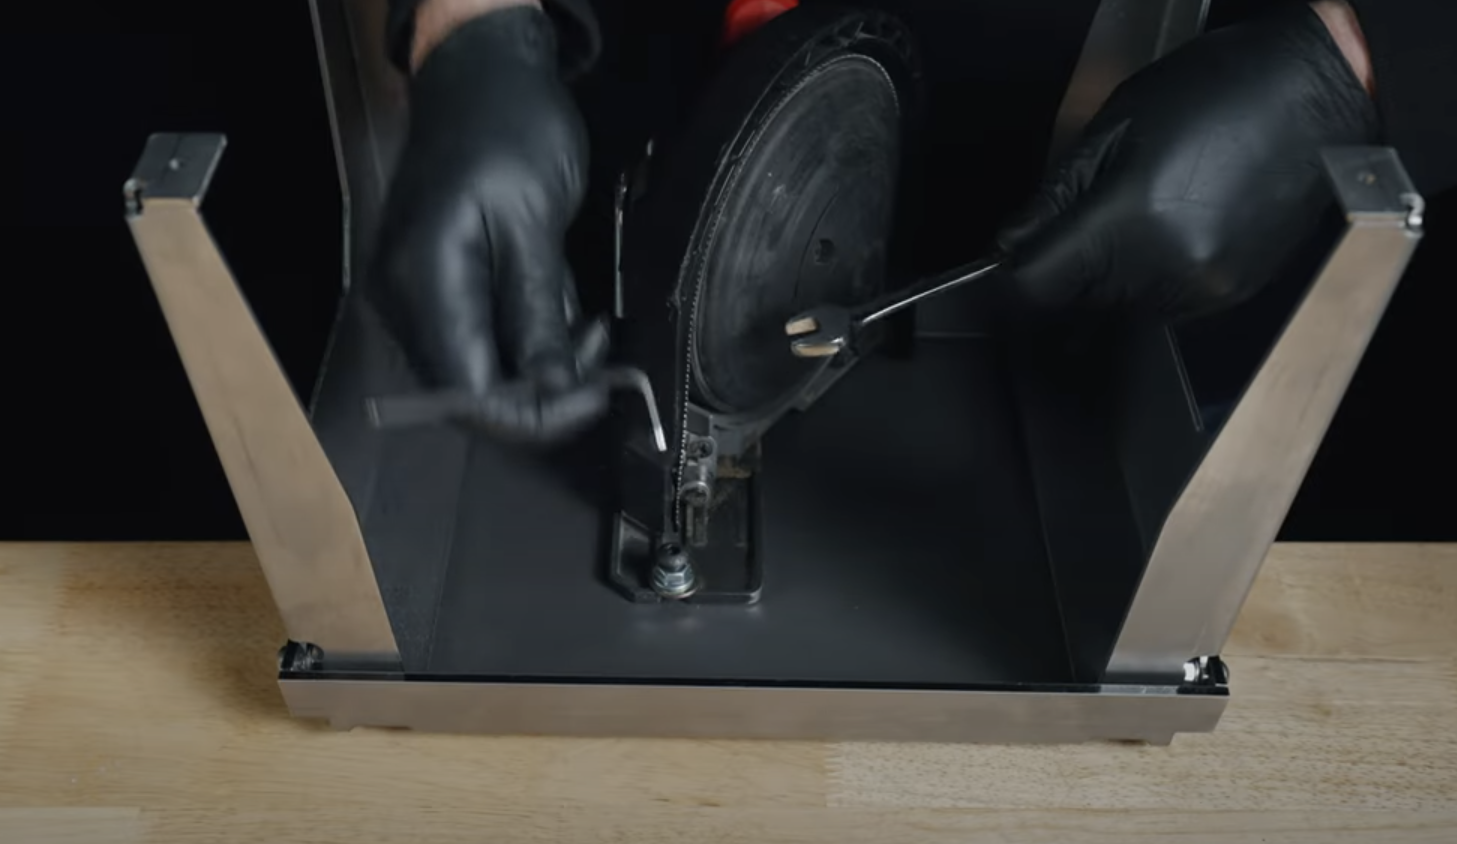
Step 3
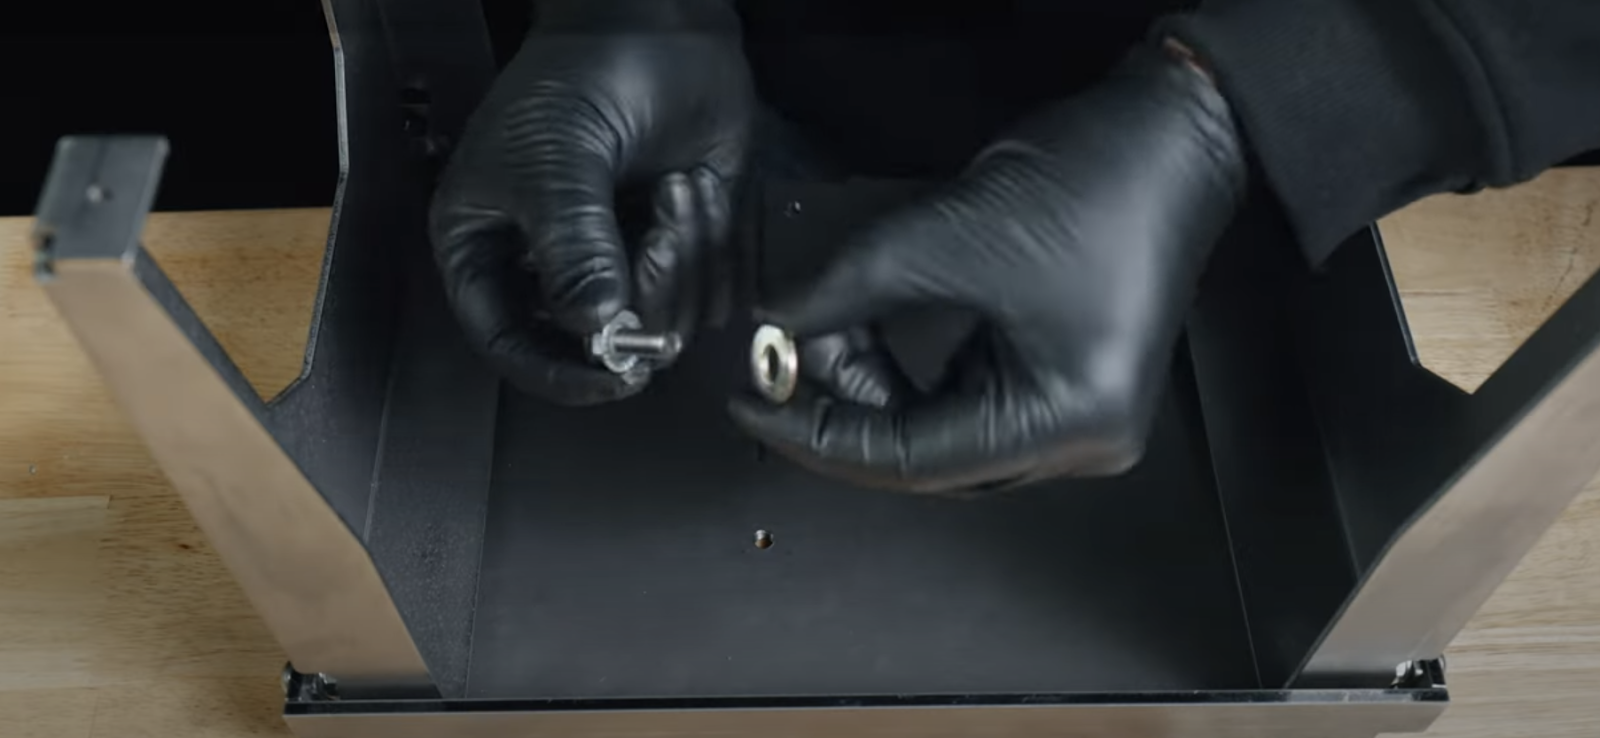
Assemble the flange nut and the hardened washer onto the 5/16” bolt as shown. Then install the 5/16” bolt in the threaded hole from the bottom side of the Portaband Table, just ahead of the blade slot.
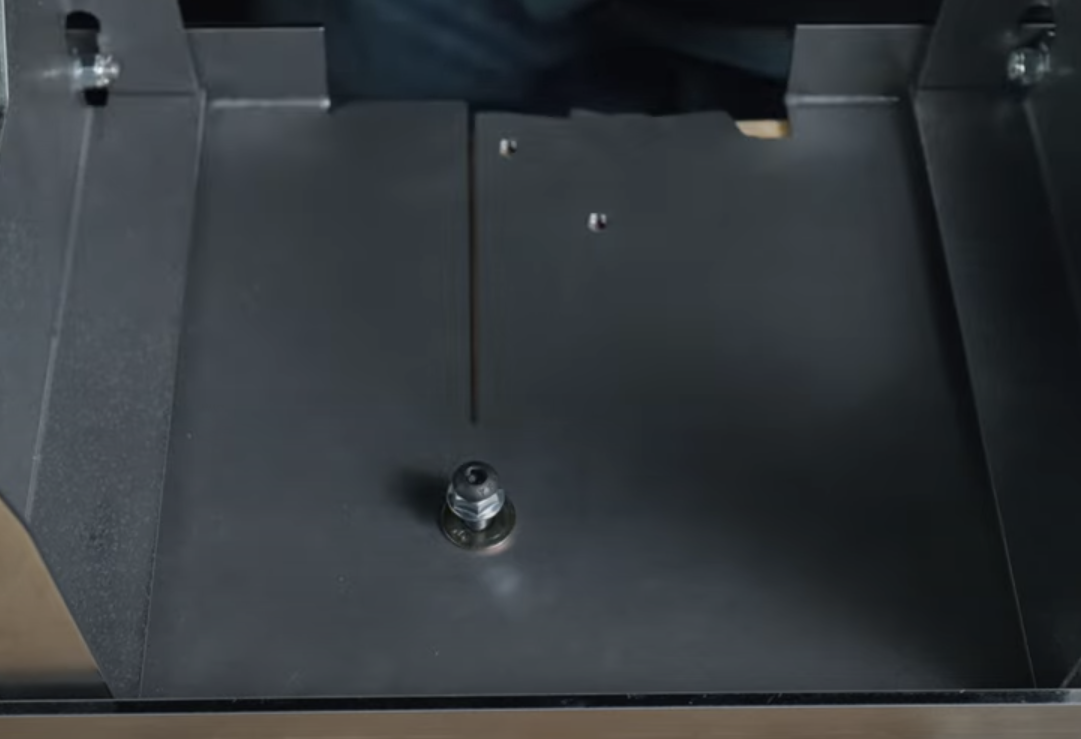
See second image for correct depth before installing saw.
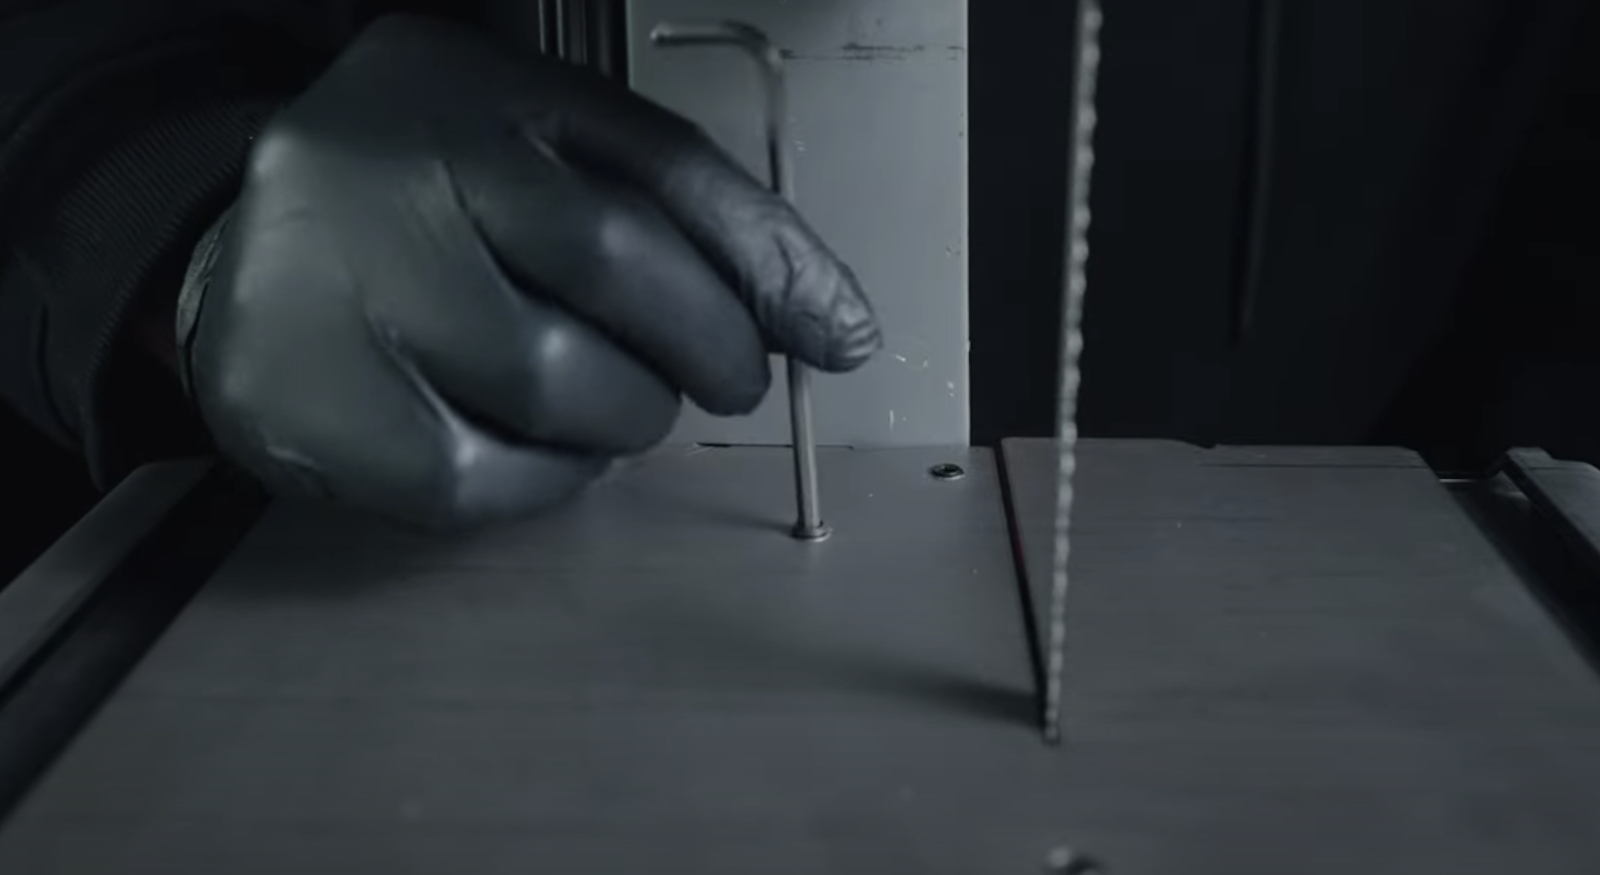
Step 4

Tighten the bolt only so it is flush with the table top surface or just slightly below.
Step 5
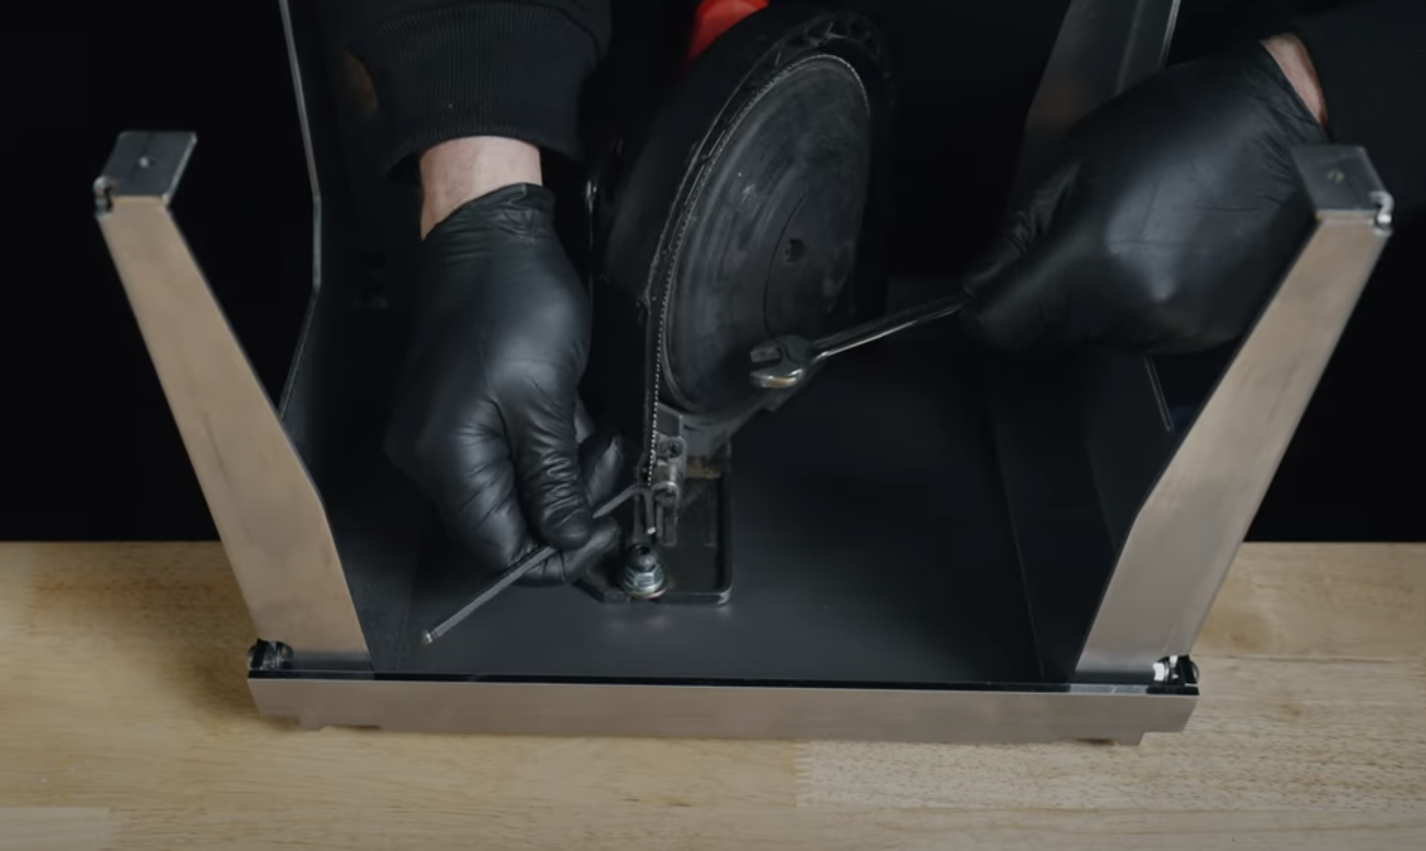
Slide the saw into the blade slot on the table, making sure there is no washer between the table and the saw guide.
Hold the 5/16” bolt in place with the 3/16” allen wrench so that the bolt doesn’t move in relation to the table top.
Tighten the nut with the ½” wrench.
Step 6
Install set screws into the table top by starting with the longest set screw into the front hole and the shortest set screw going in the hole closest to the back of the table.
Do not tighten the set screws until the following step.
Step 7
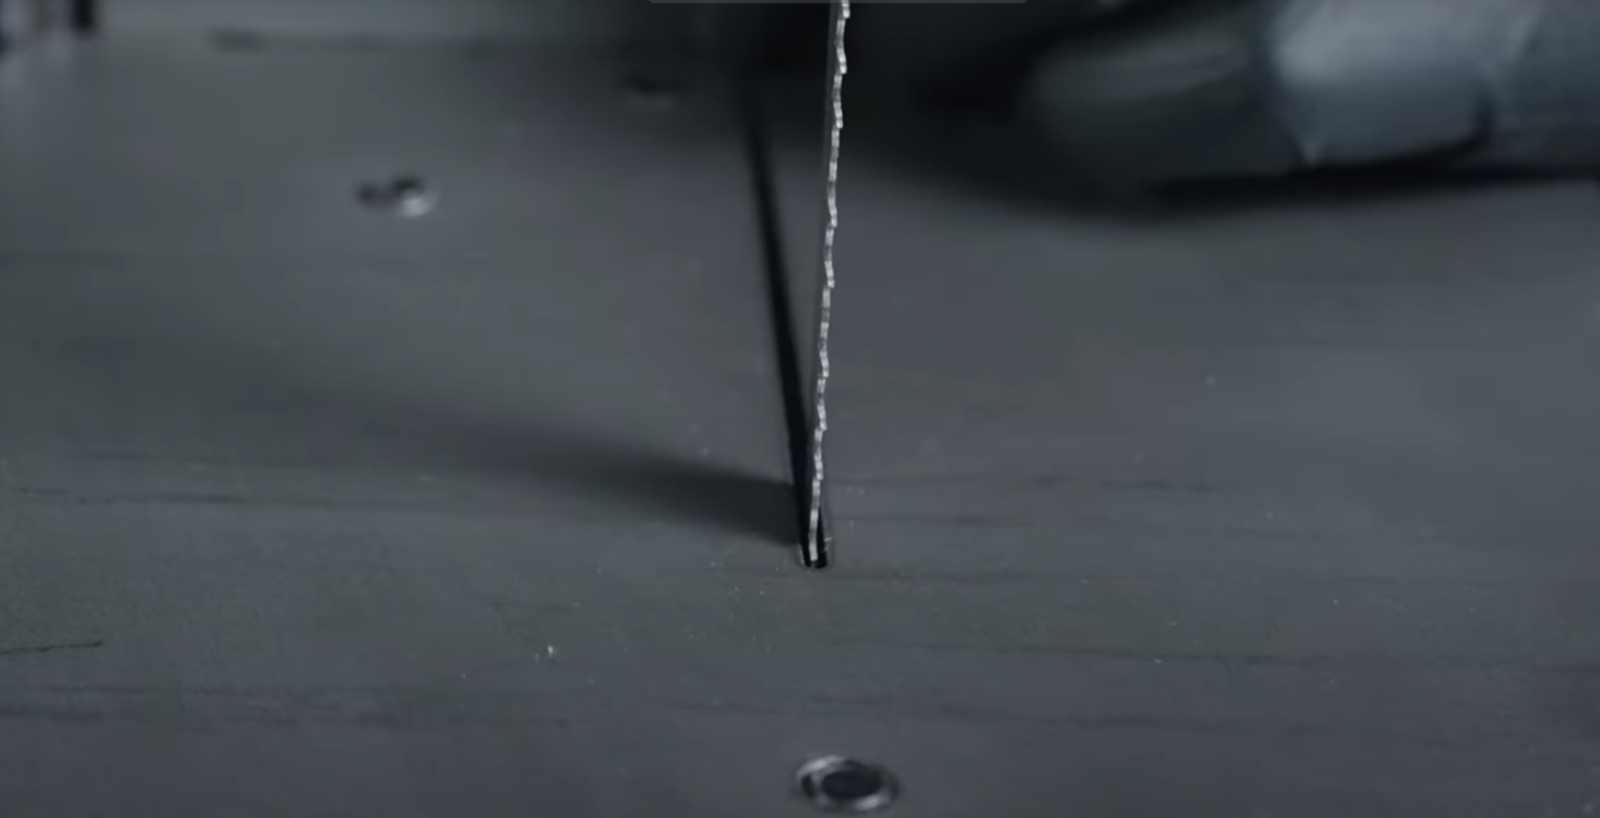
Adjust the blade position to be in the center of the blade slot in the middle of the table.
Tighten the set screws to hold the saw in place and so the set screws are flush or just below the table surface.
Step 8
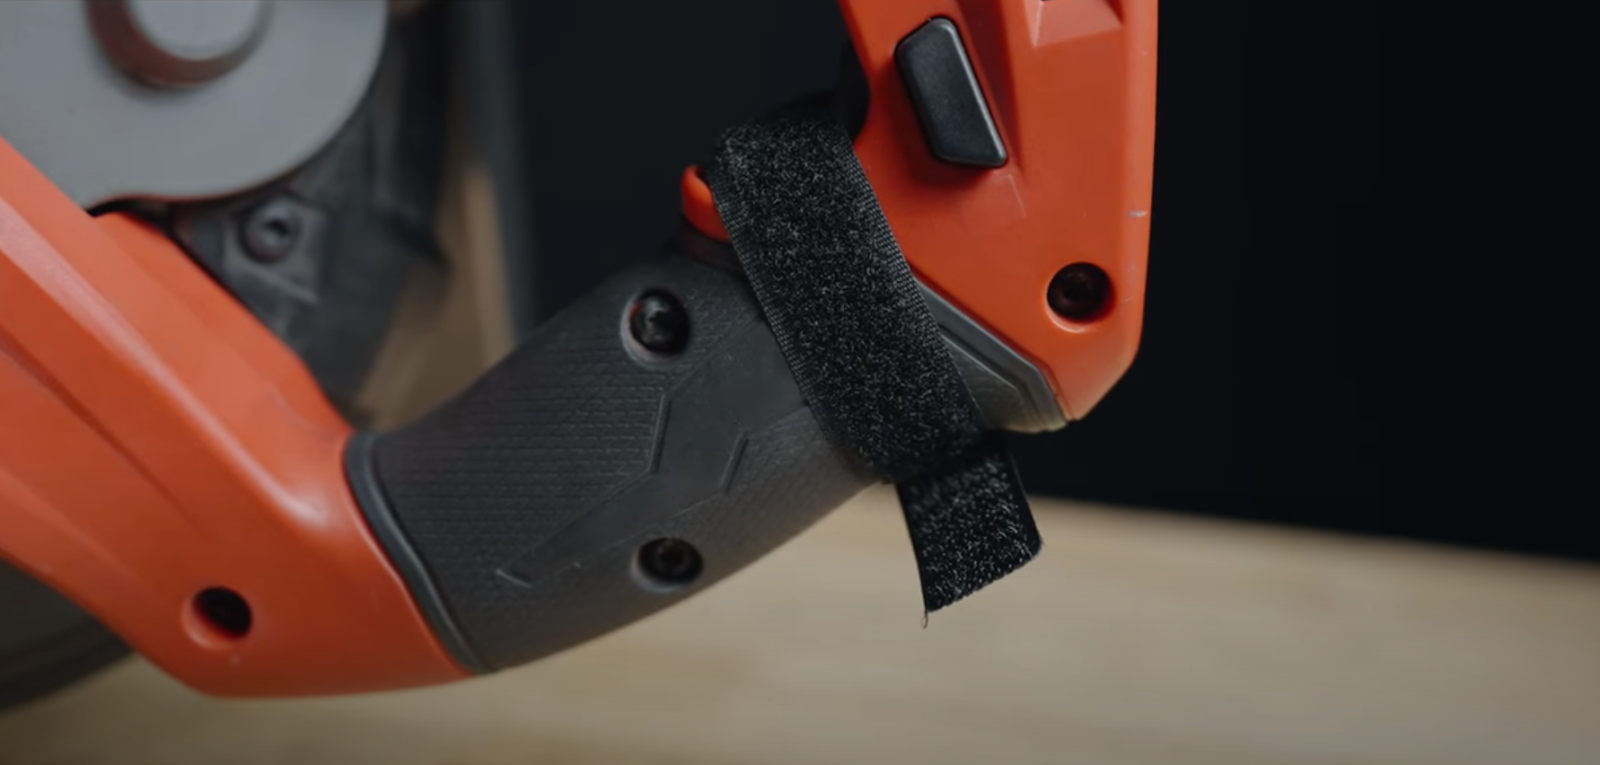
Attach trigger strap.
You’re now ready to use your Portaband Table!
Updated on 18 May 2026
What are your Feelings?
Thanks for your feedback

2625 Southeast 39th Loop Suite H
Hillsboro, OR 97123
Available by appointment only
Closed
Closing at 5pm
Closing at 5pm
Closing at 5pm
Closing at 5pm
Closing at 5pm
Closing at 1pm